Car Ride - Character Animation
Animation
Adobe Animate | Procreate | Audacity
Overview
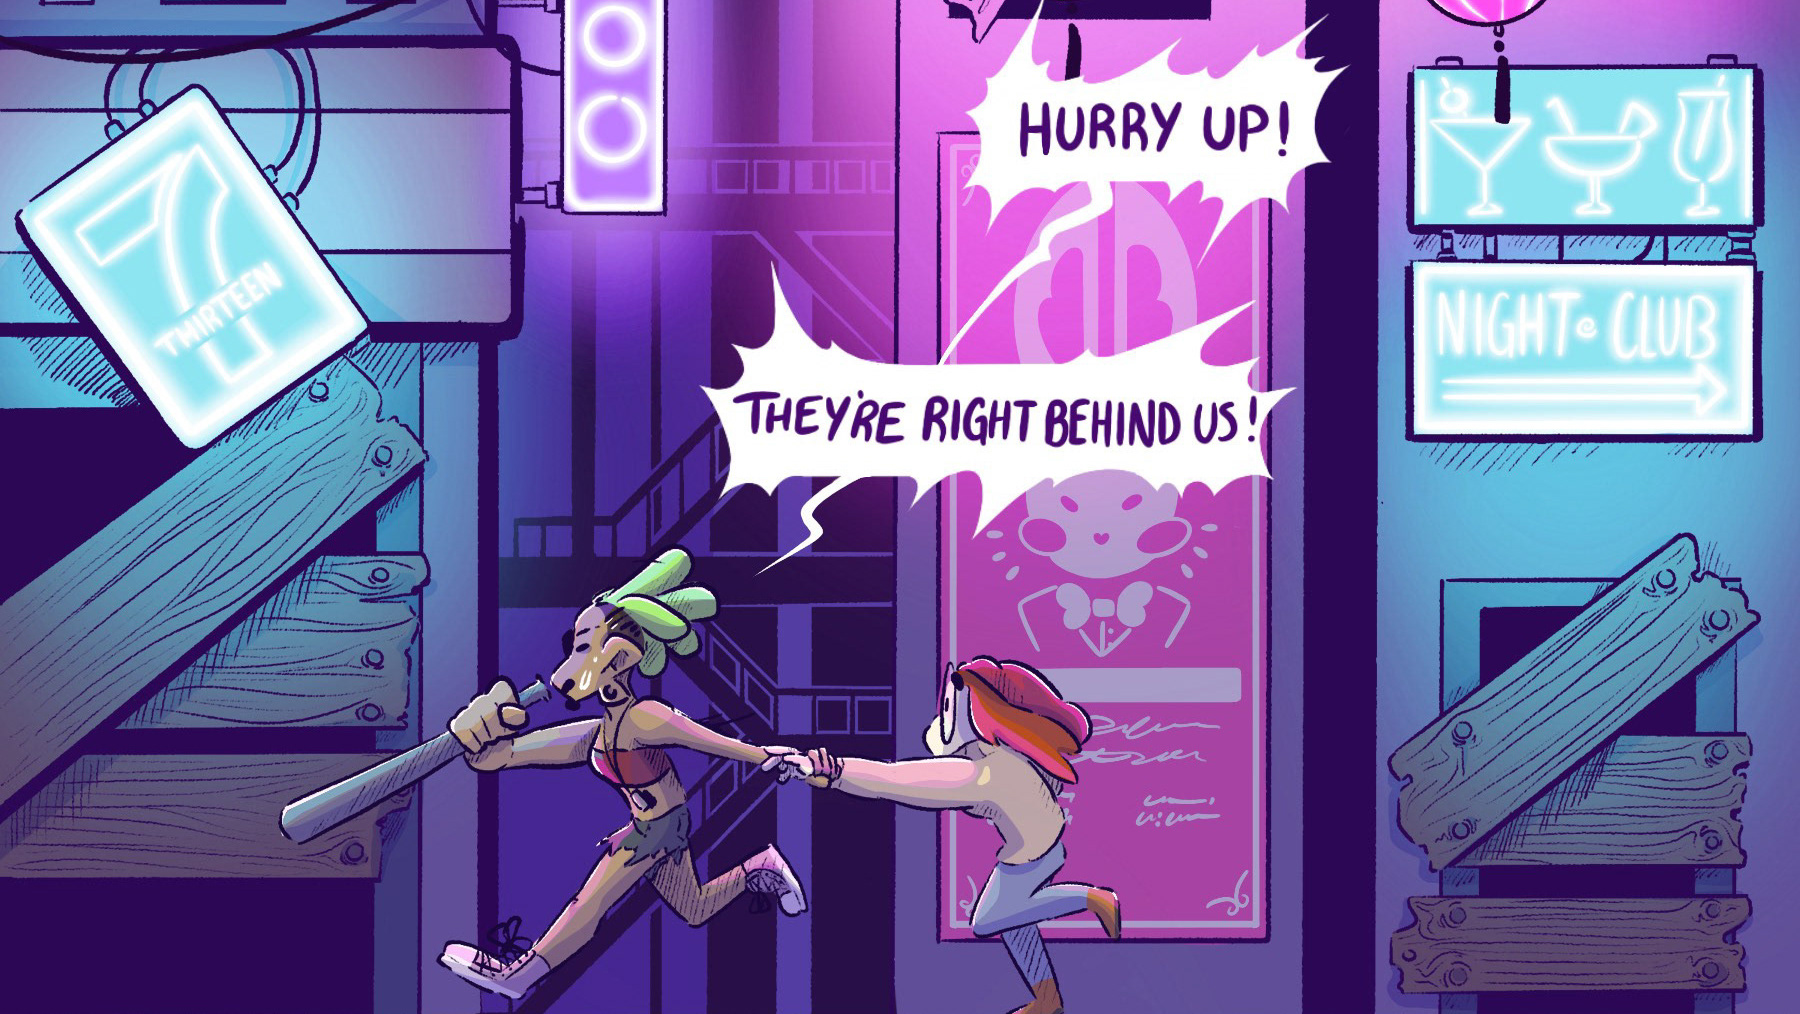
For the final project of my animation class, I was tasked to create a short animation relating to the prompt “family.” Using Adobe Animate, I was to showcase all the principles of animation and storytelling in this animation in four weeks. I chose to use the characters Lily and Lotus that I used previously for my comic project. I wanted to include voice acting in my animation, so I included two friends as the characters' voices.
Sketches
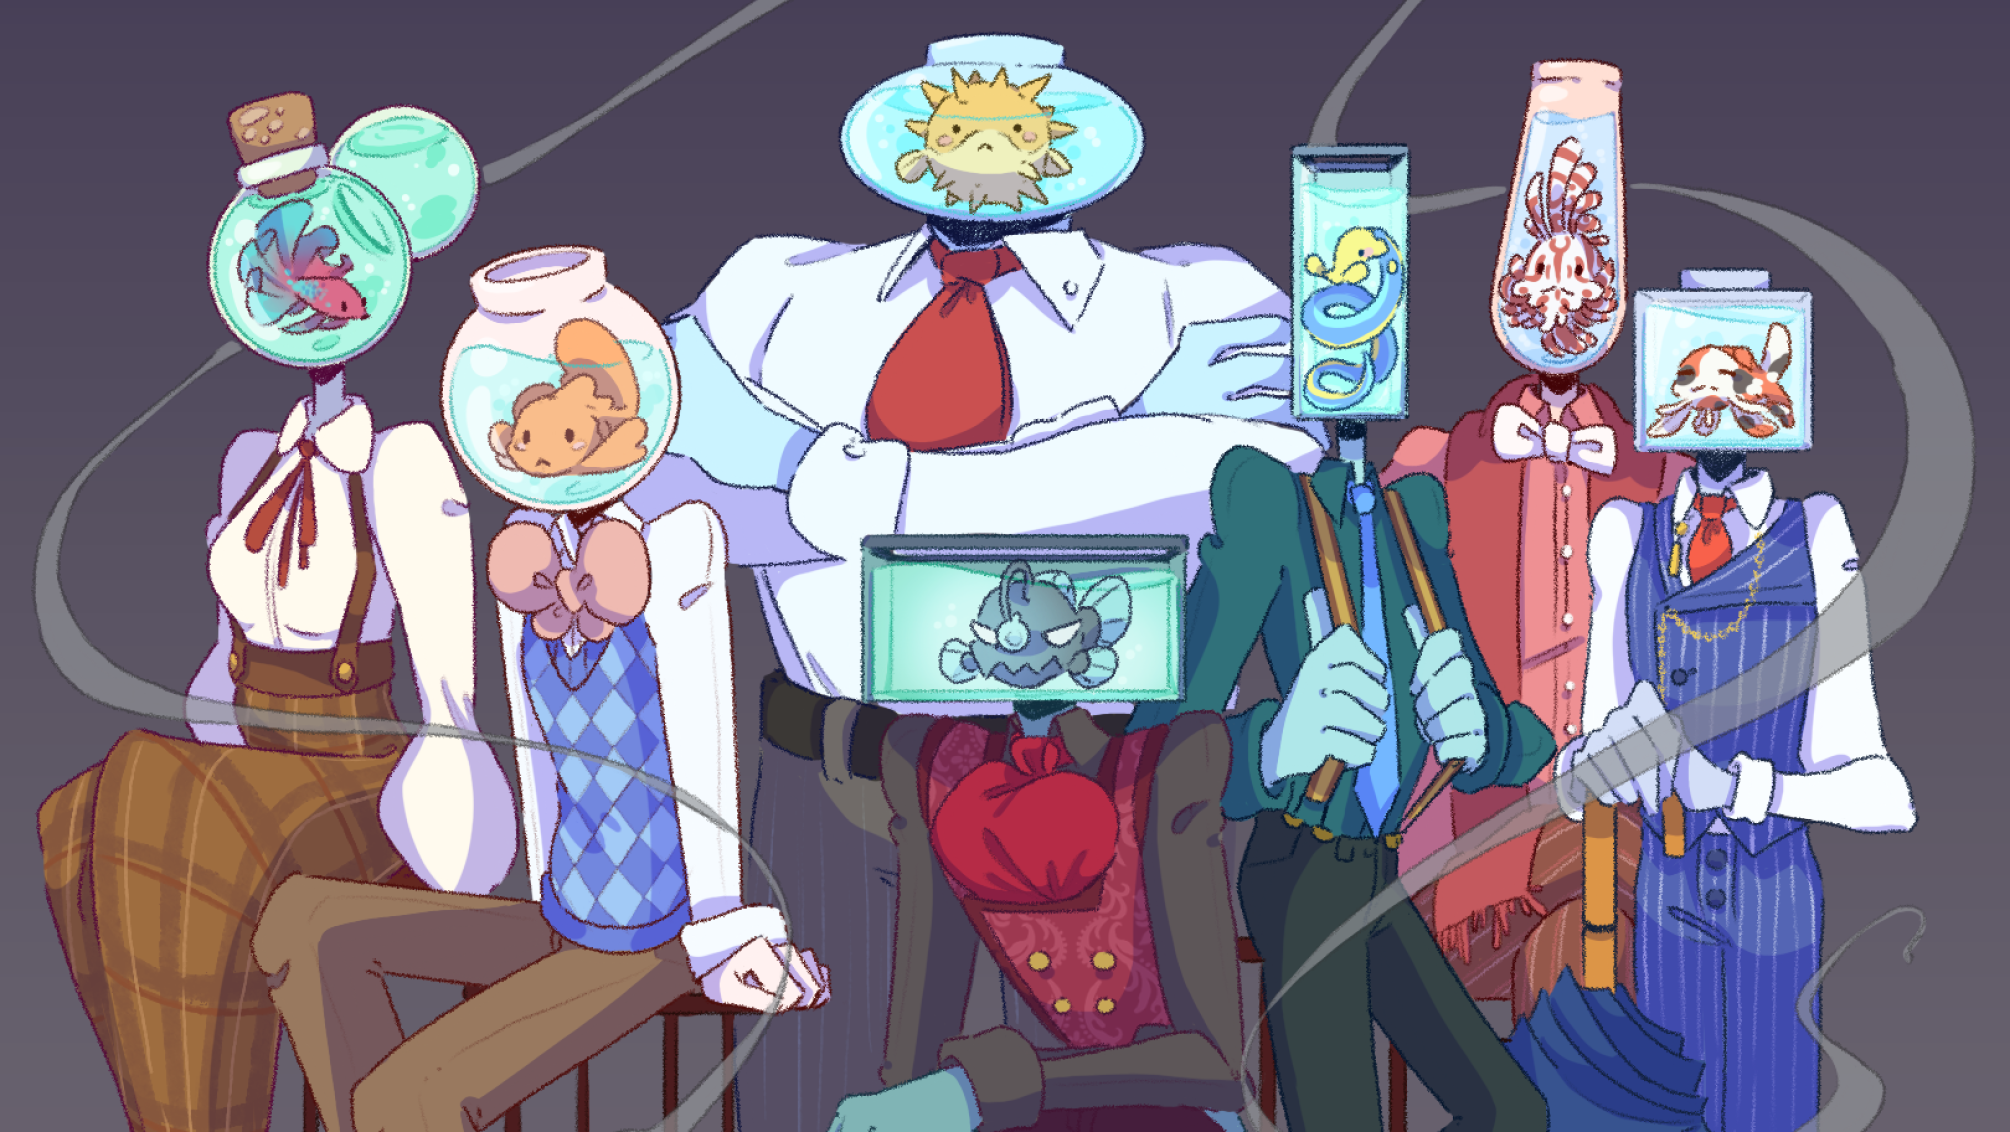
To start off this project, I first created a short script and narrative for these characters. I wanted these characters to be driving to the beach to spend a summer trip with Lily’s family, however, Lotus is worried about meeting them. Once the script was created, I grabbed my friends and we recorded the audio over Zoom. I put each of their audio into Audacity to line the pauses up correctly, and to cut out bad takes. After the audio was completed, I created a short animatic of the visuals and different shots I intended to draw in the animation. I also created a quick character lineup of Lily and Lotus for this animation to have all the colors, clothing, and character details in one place.
In Progress
Soon into the project, I realized I wouldn’t be able to animate the whole script. I chose to animate a short section at the end of the script. Using my animatic as a foundation for my animation, I started by creating the backgrounds for my animation in Procreate. The entire narrative would take place in Lily’s car. I wanted the setting to reflect the character as well. I chose similar colors to Lily and kept the design simple and tidy.
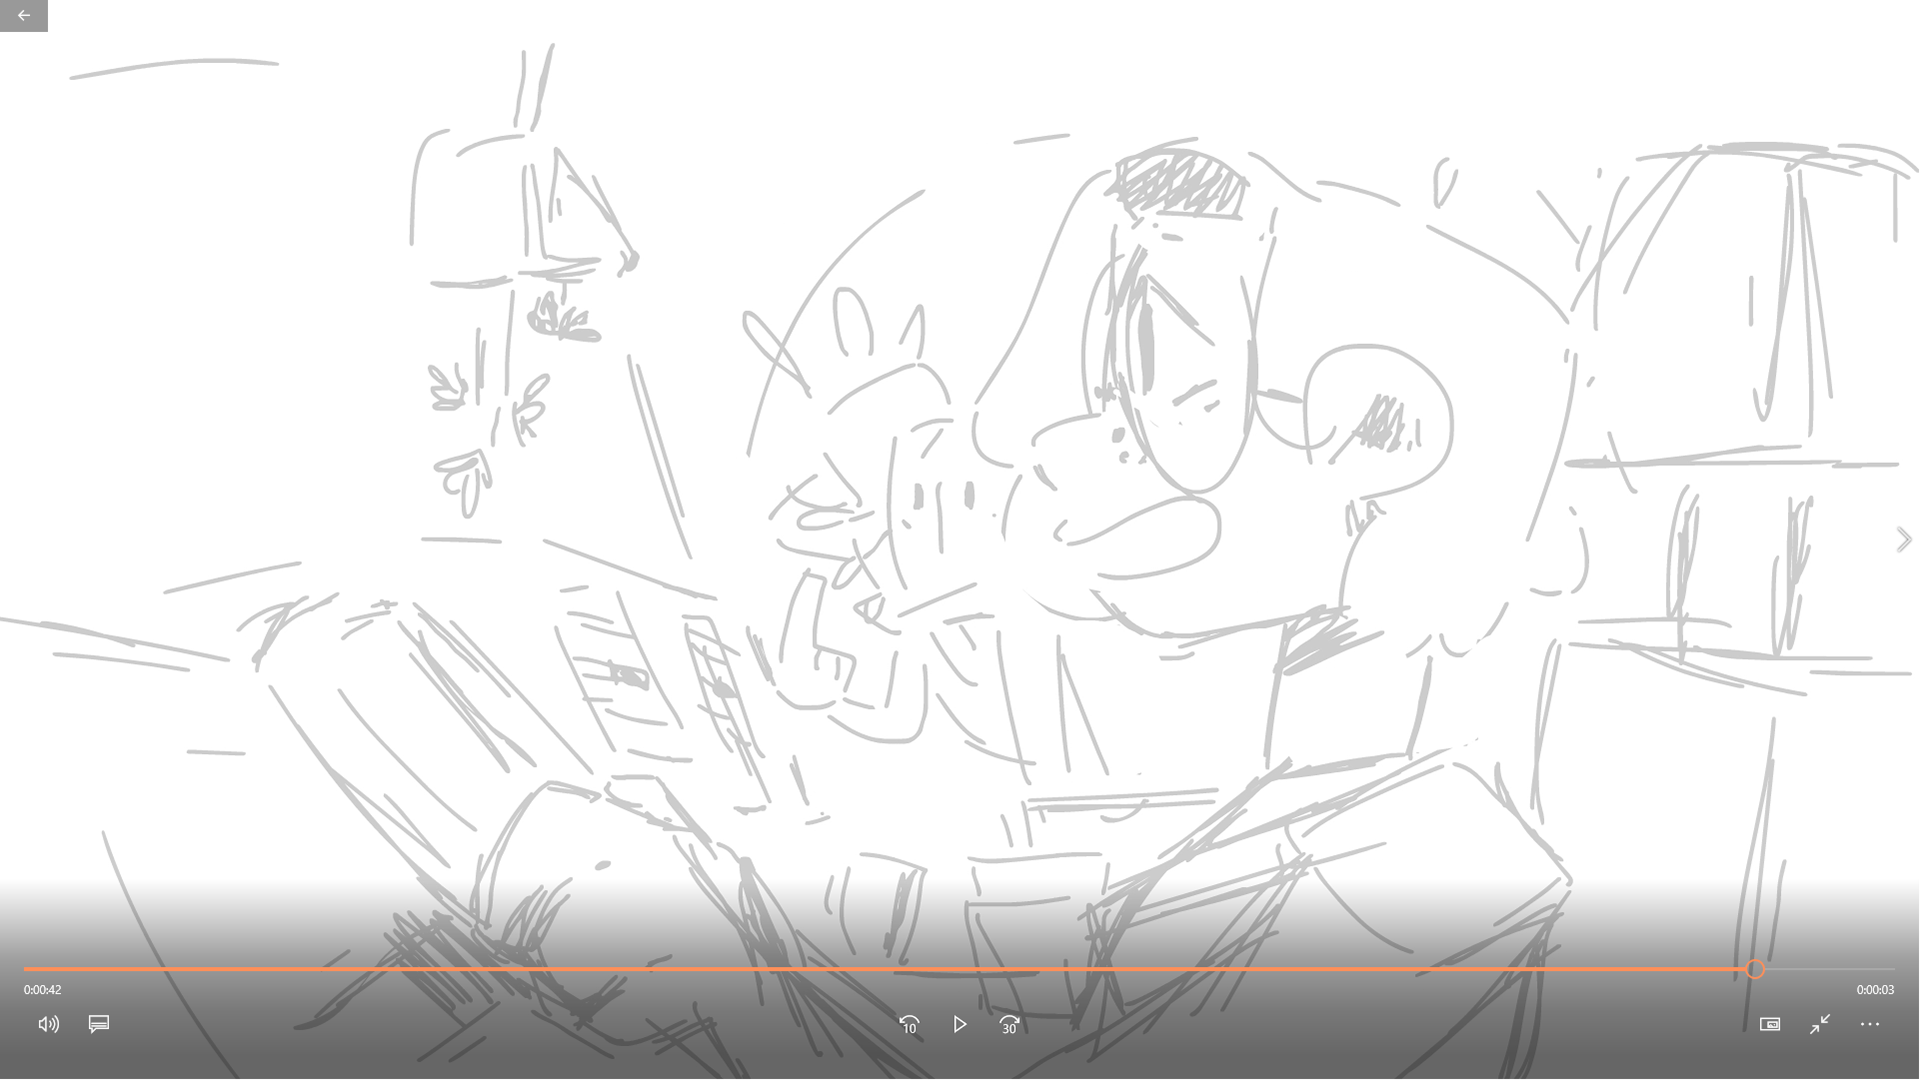
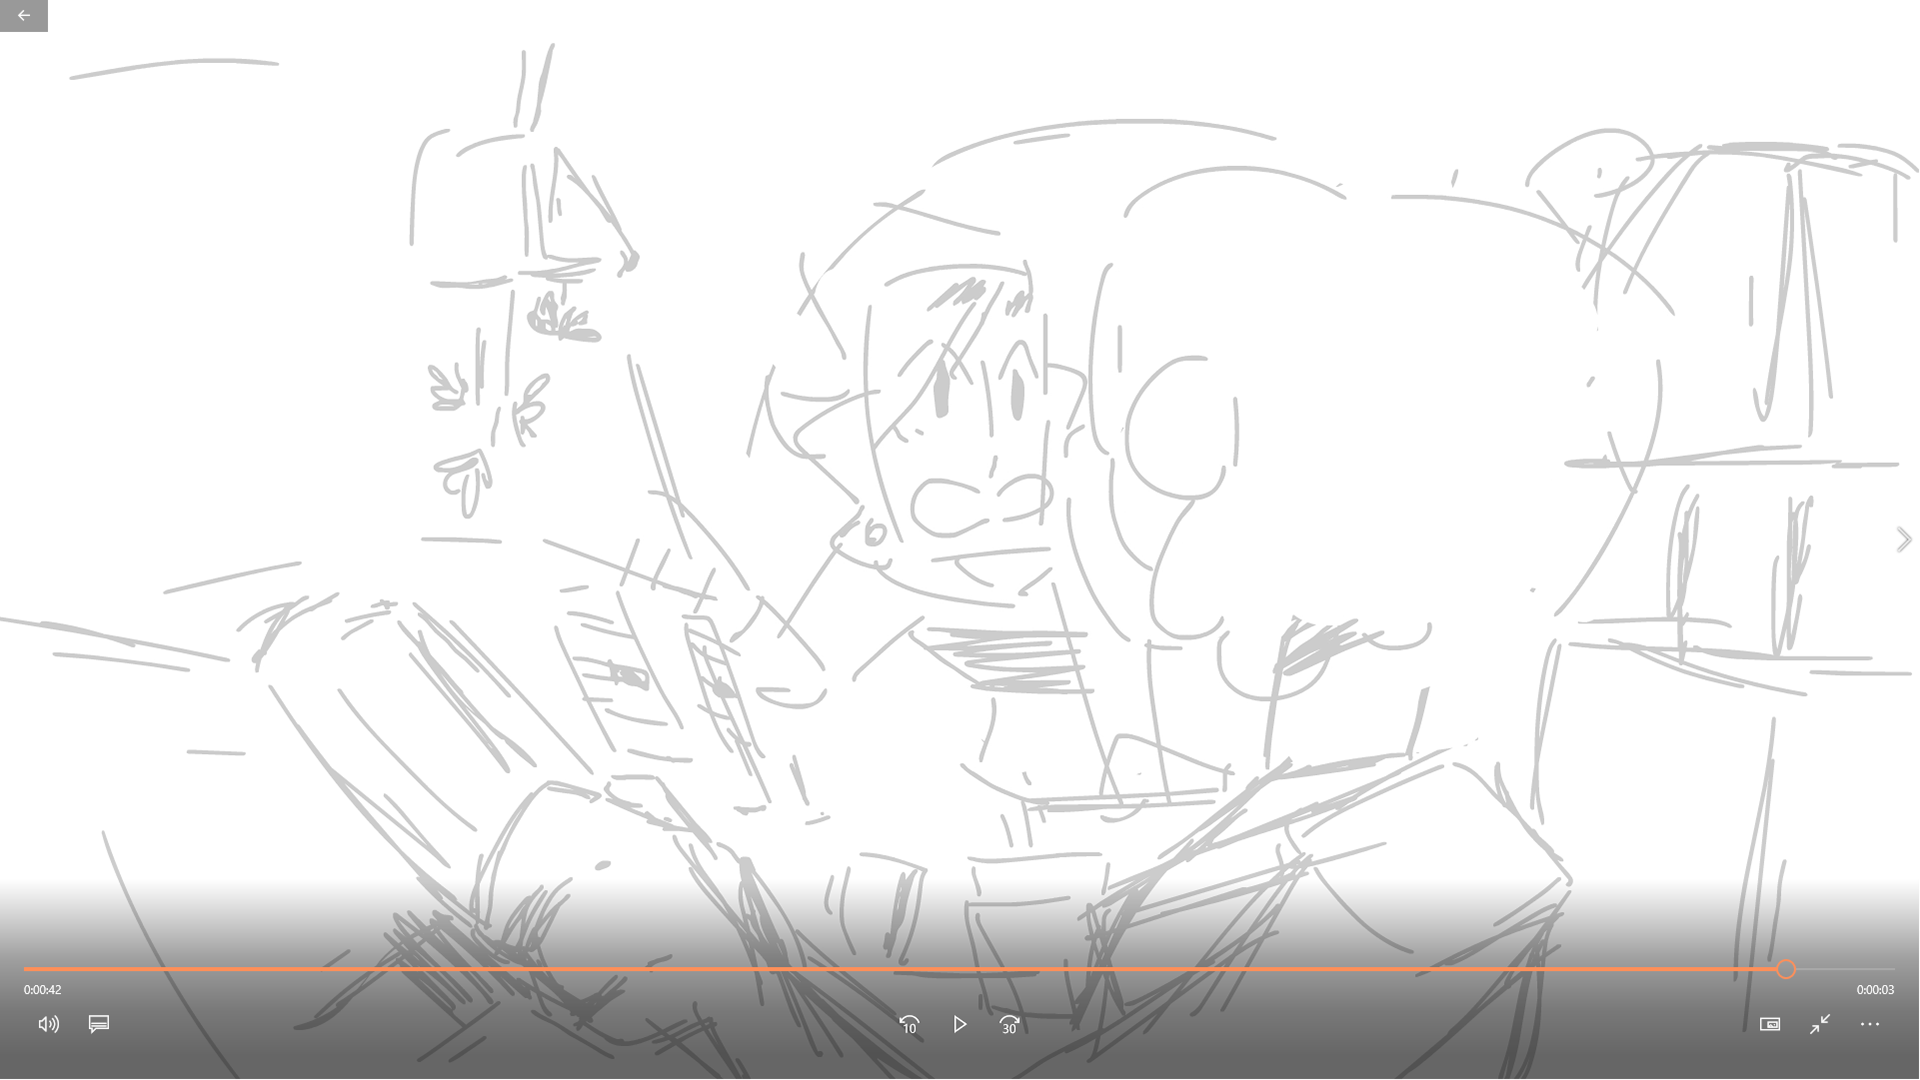
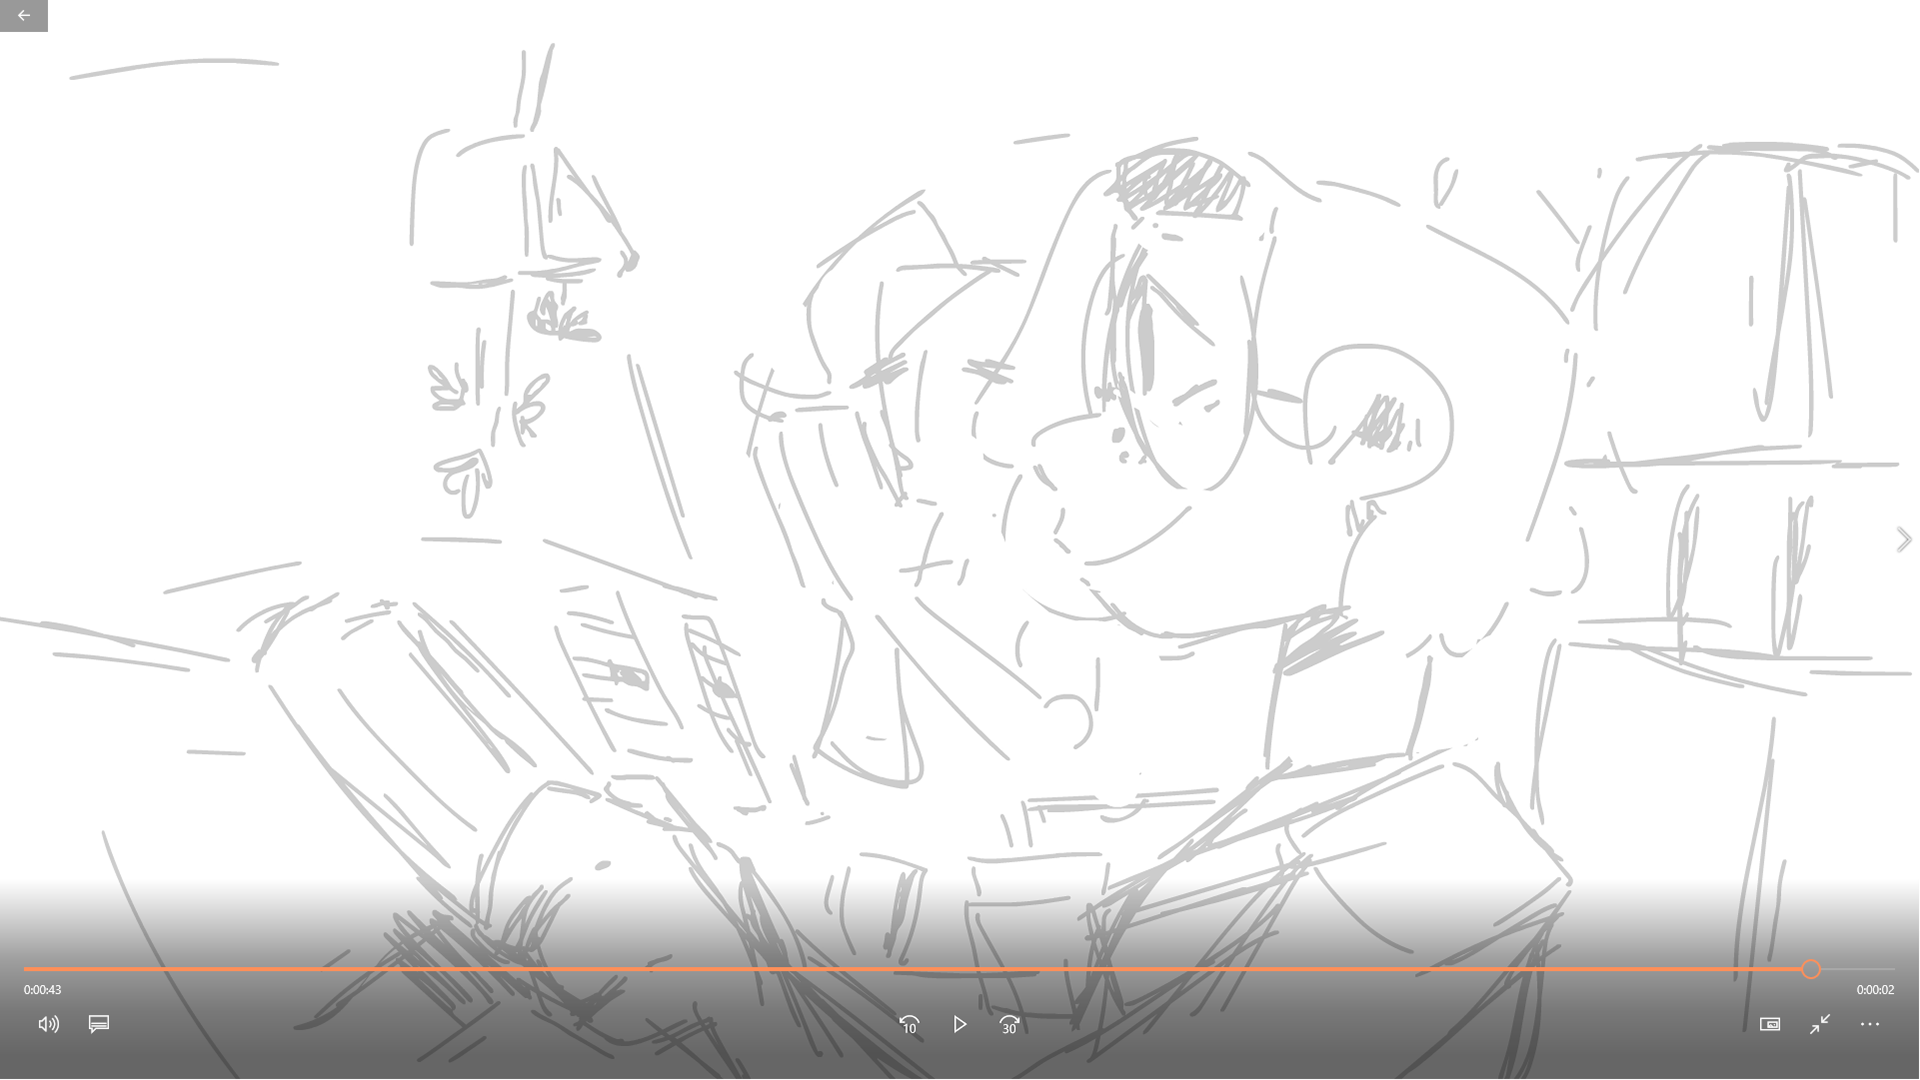
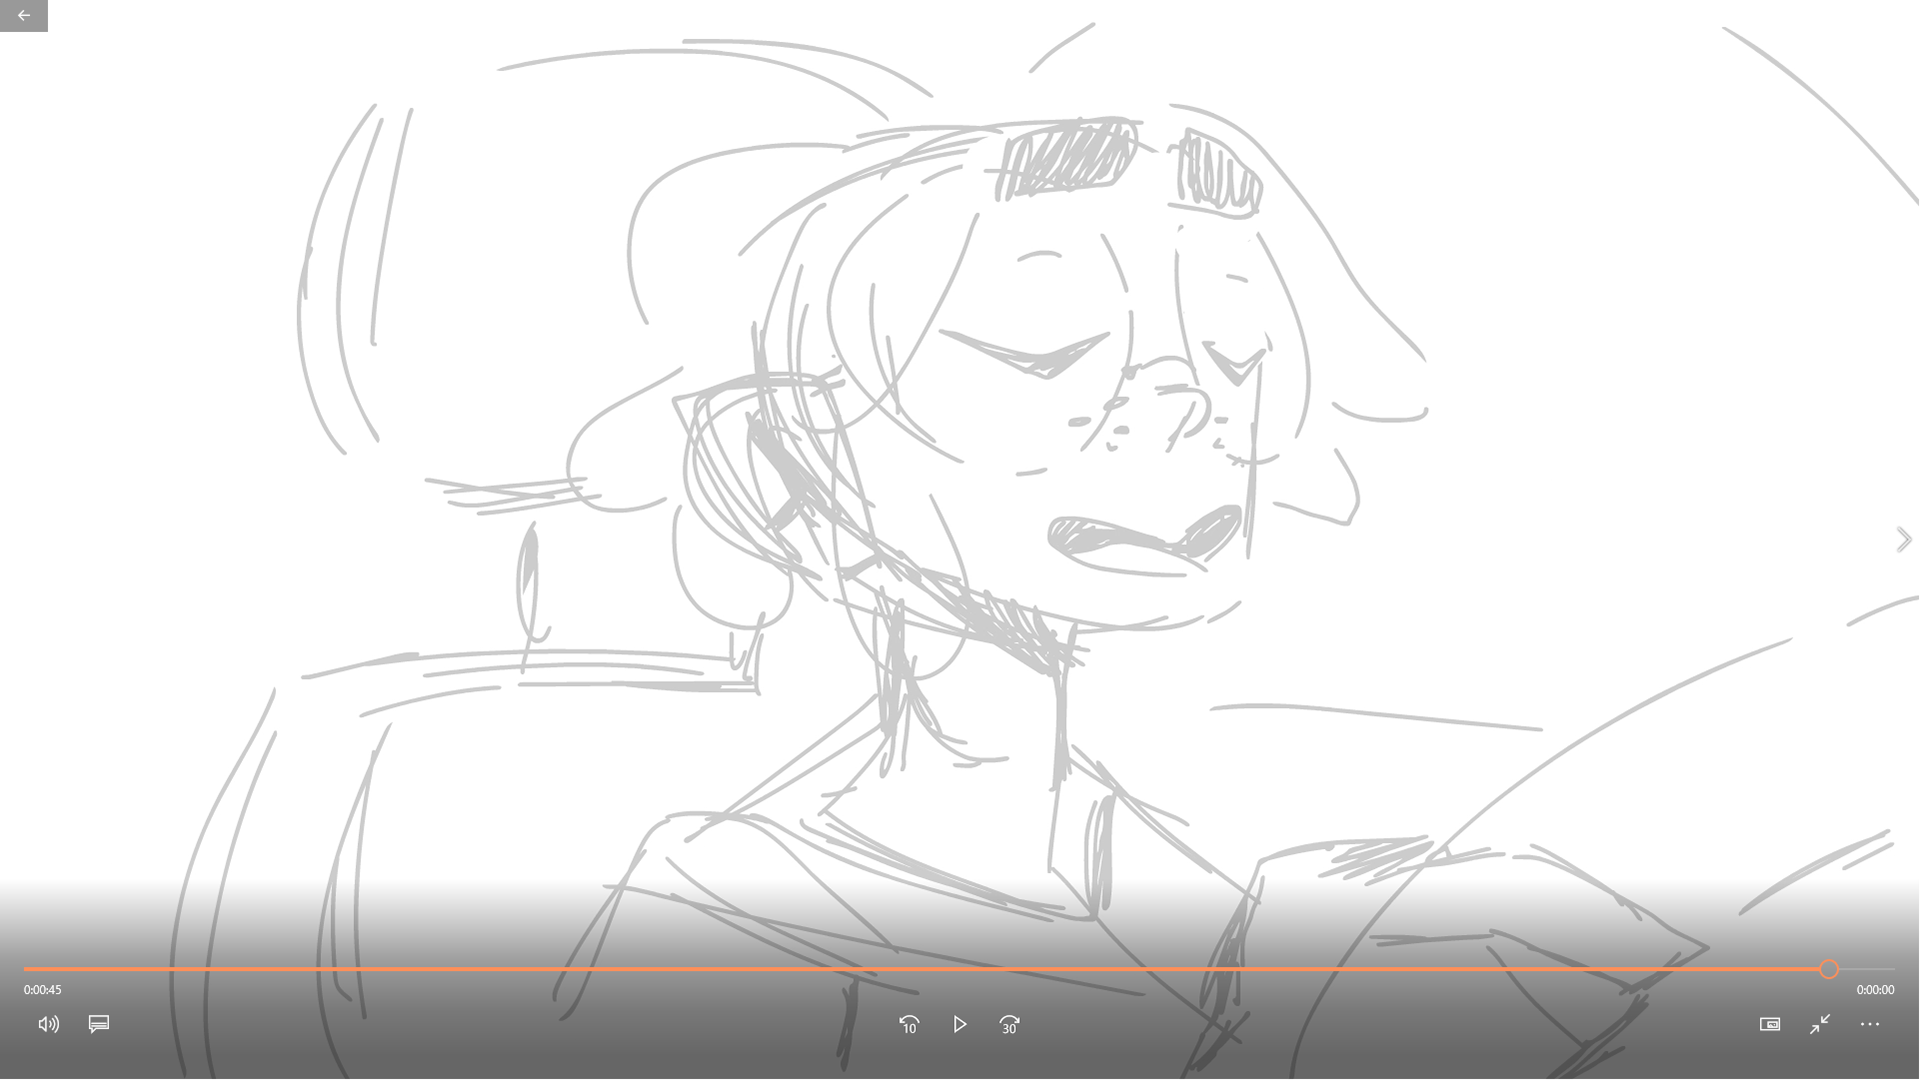
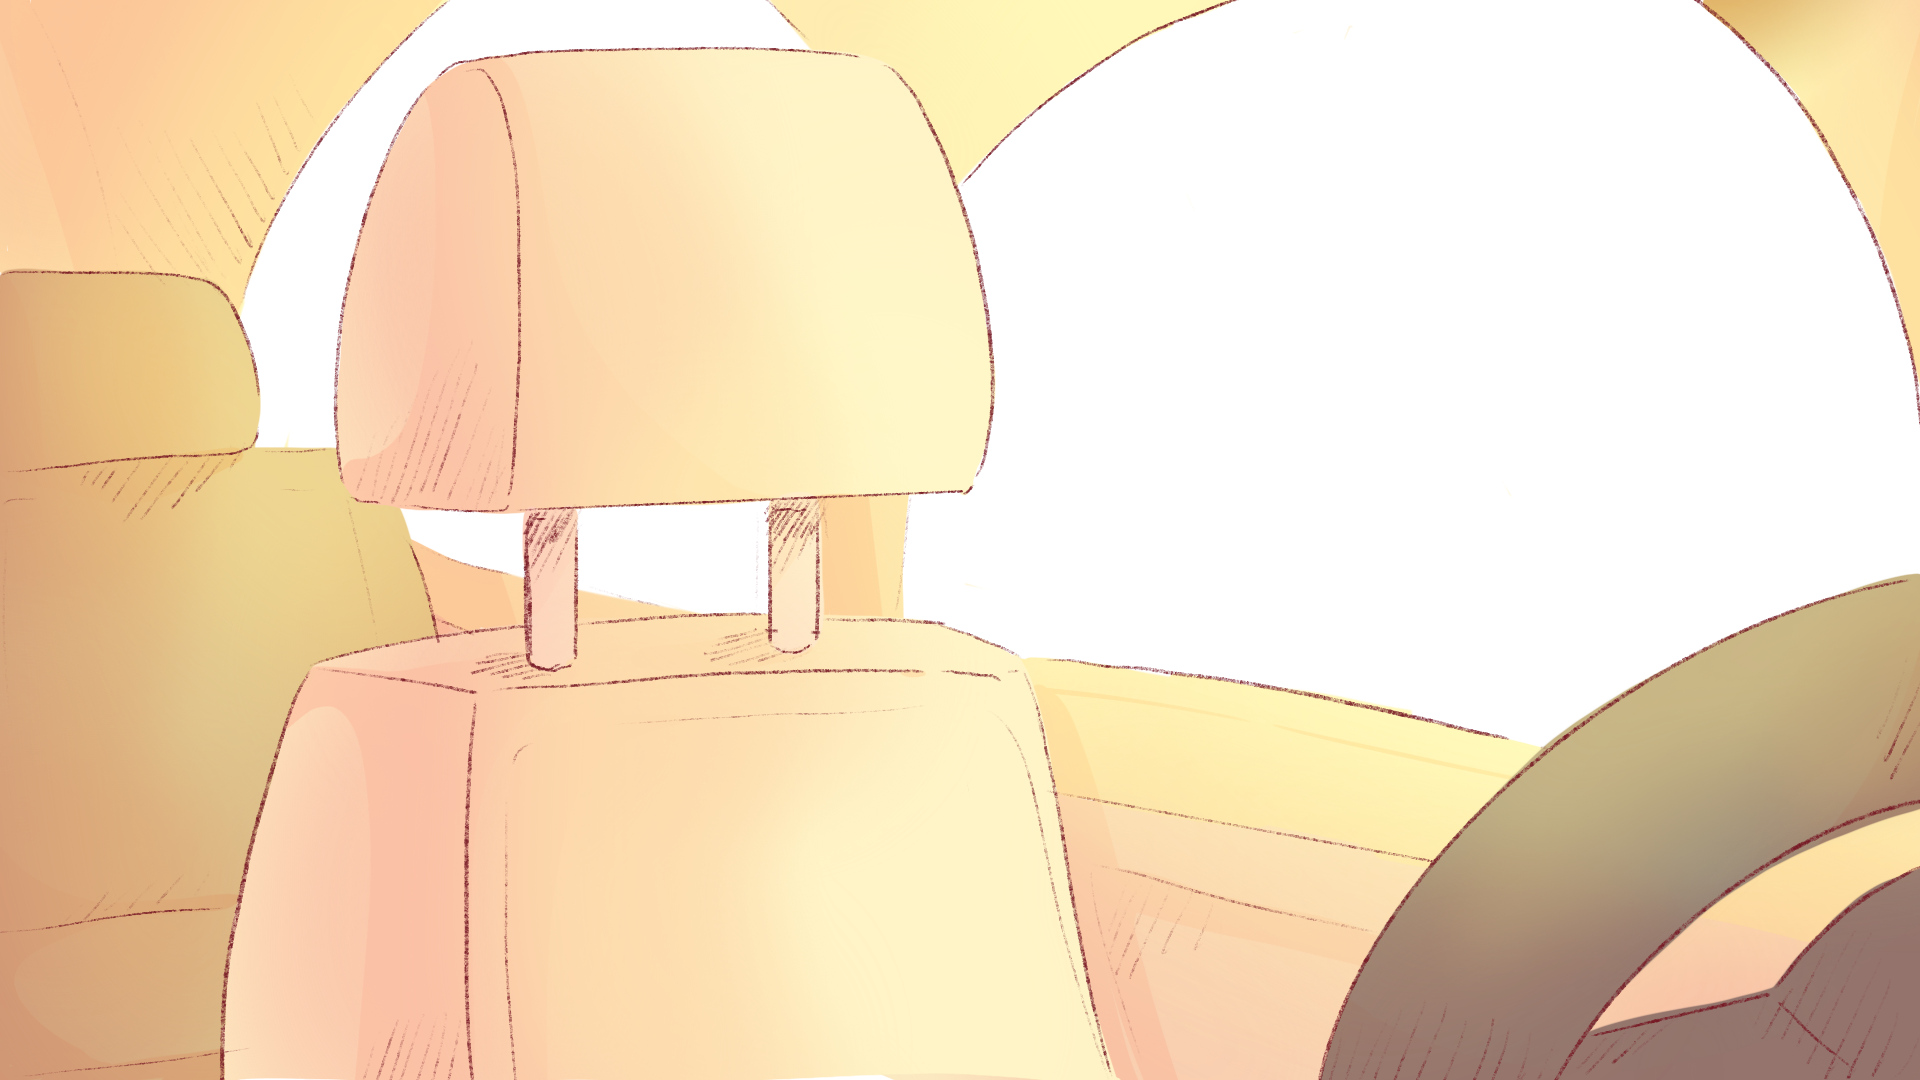
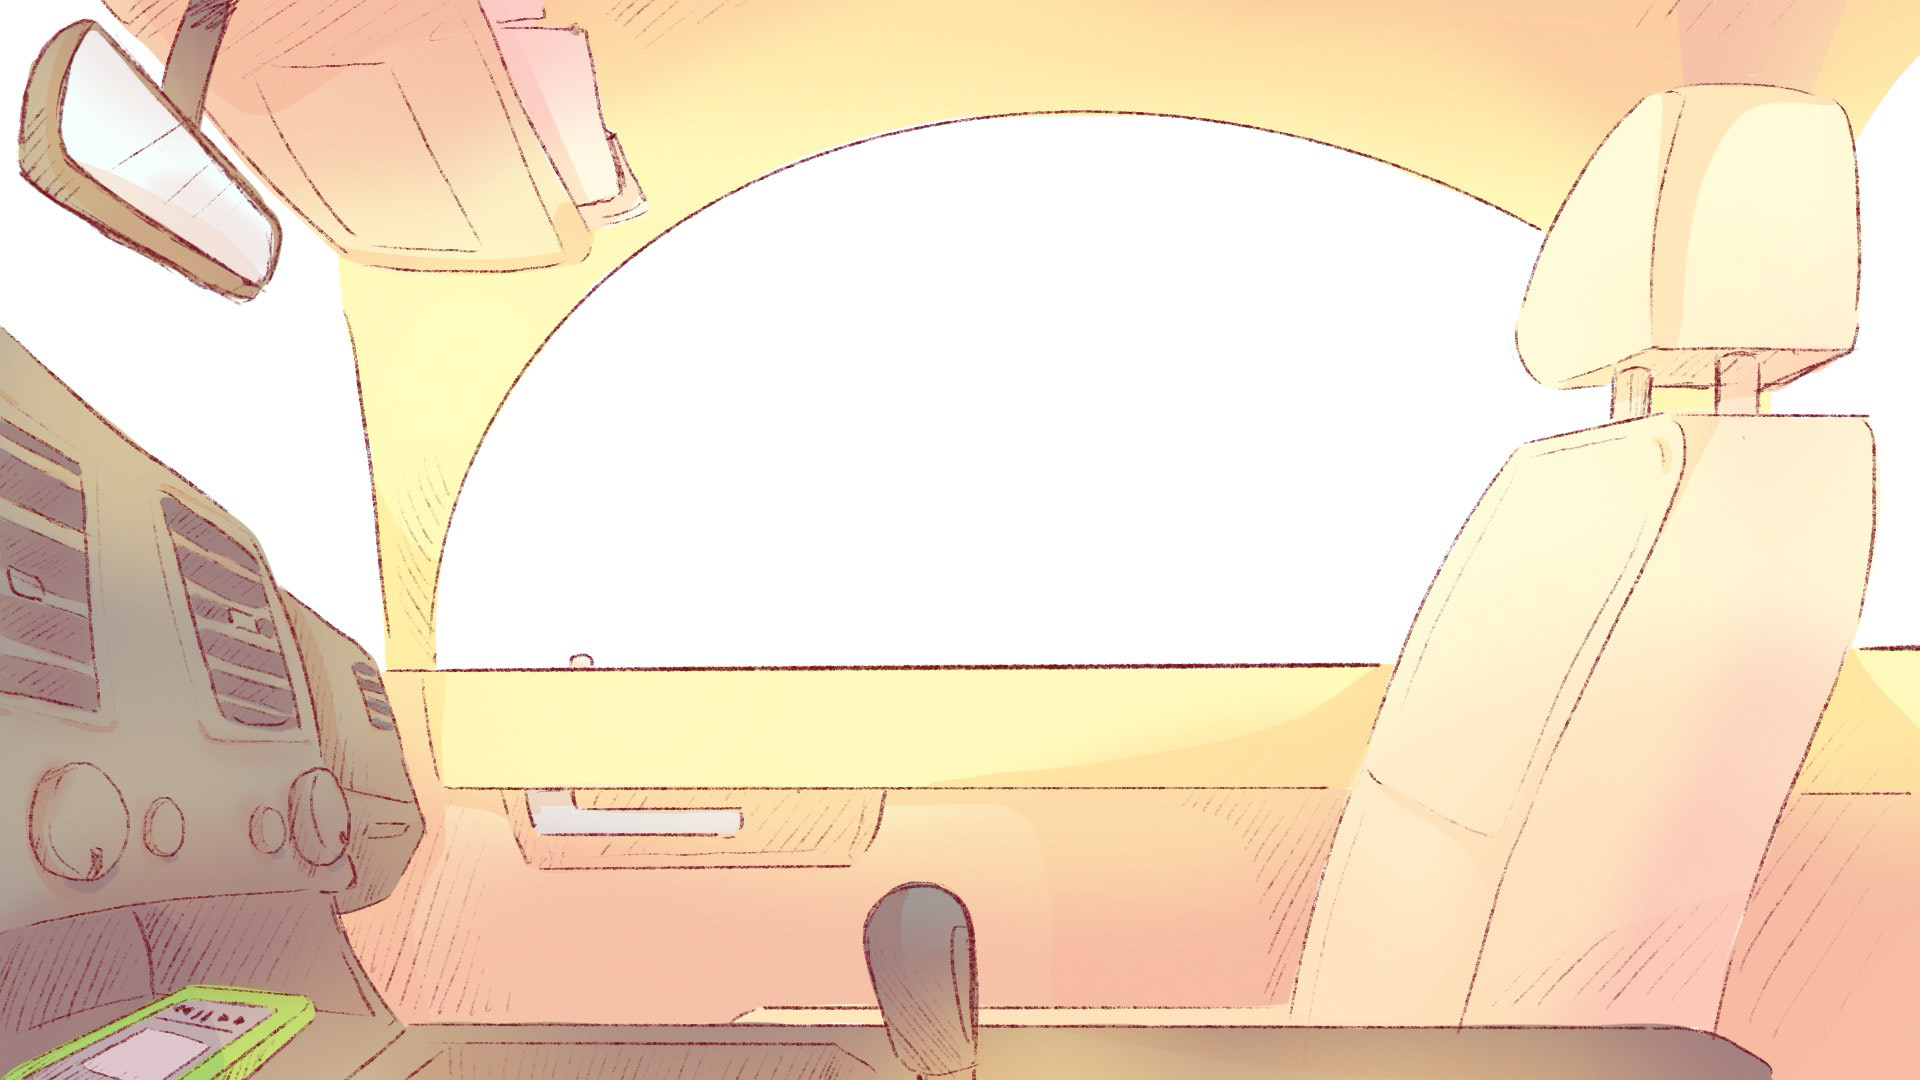
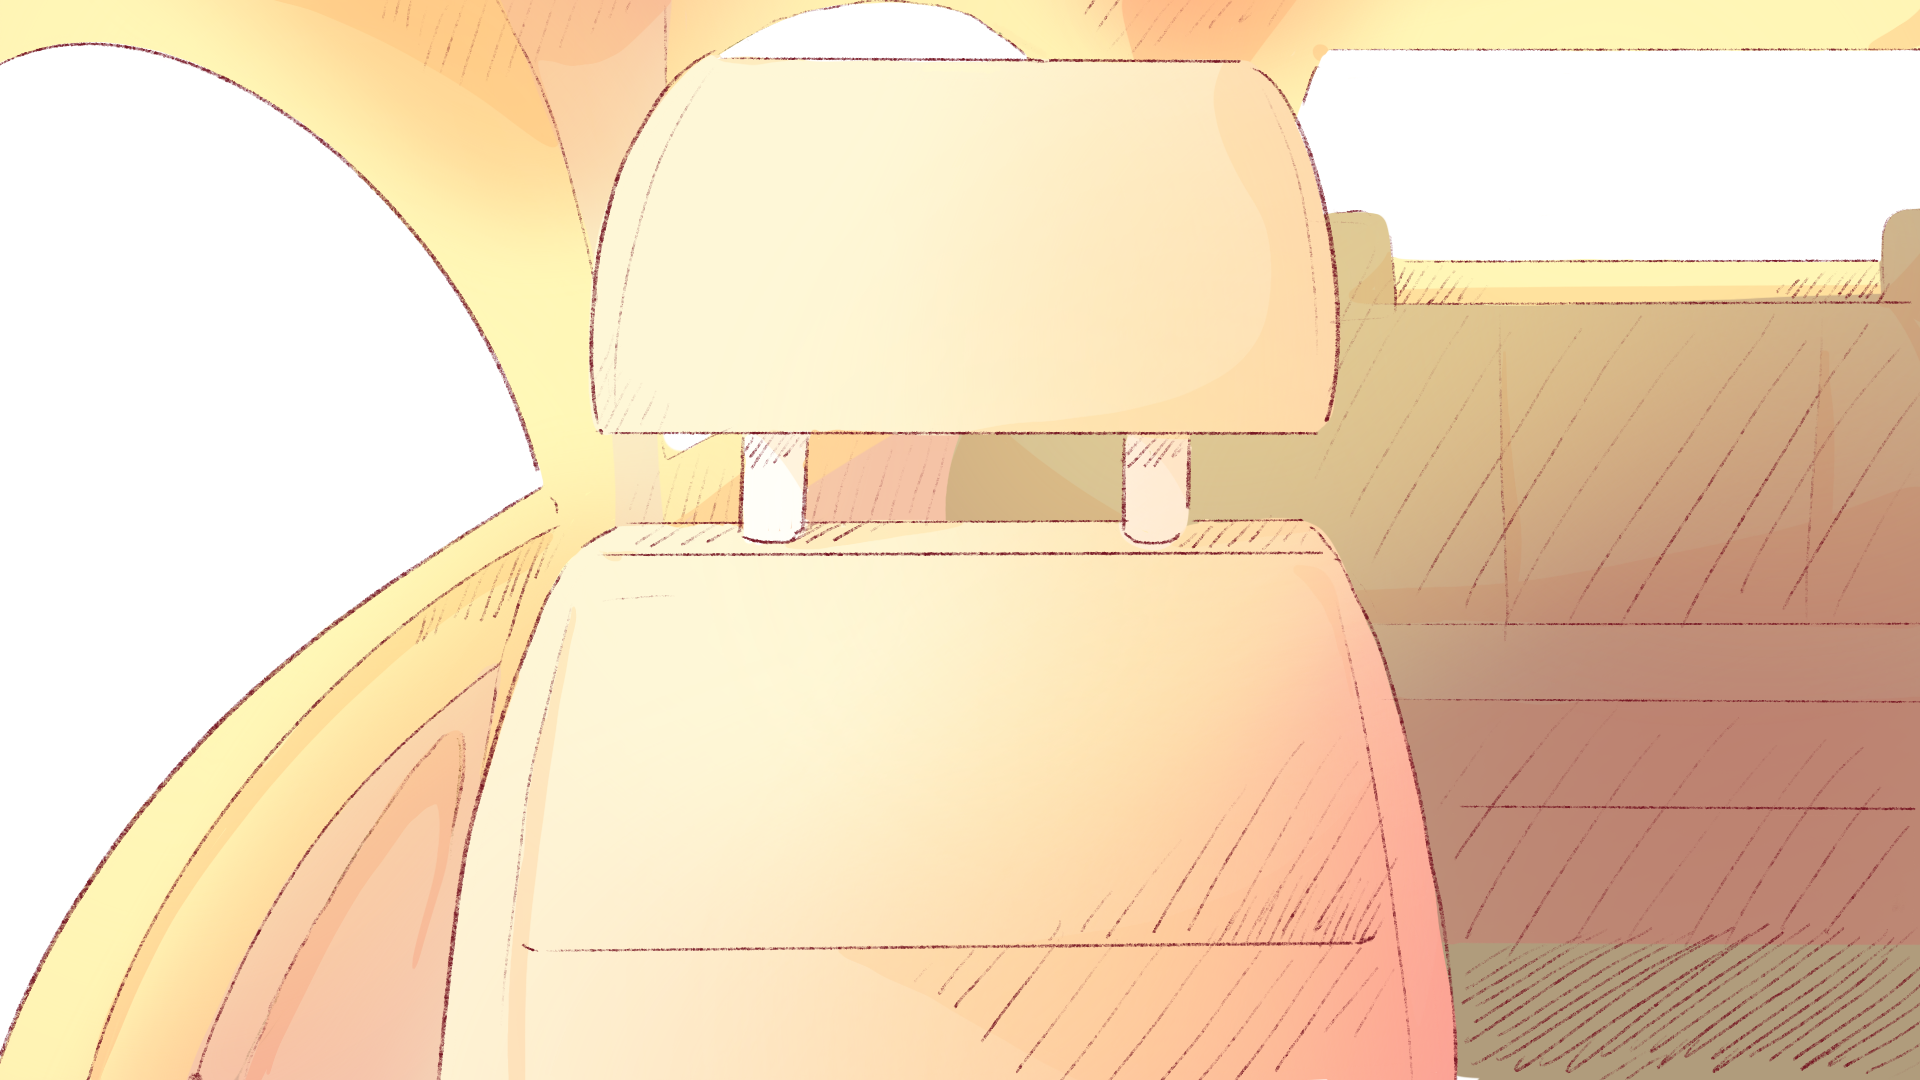
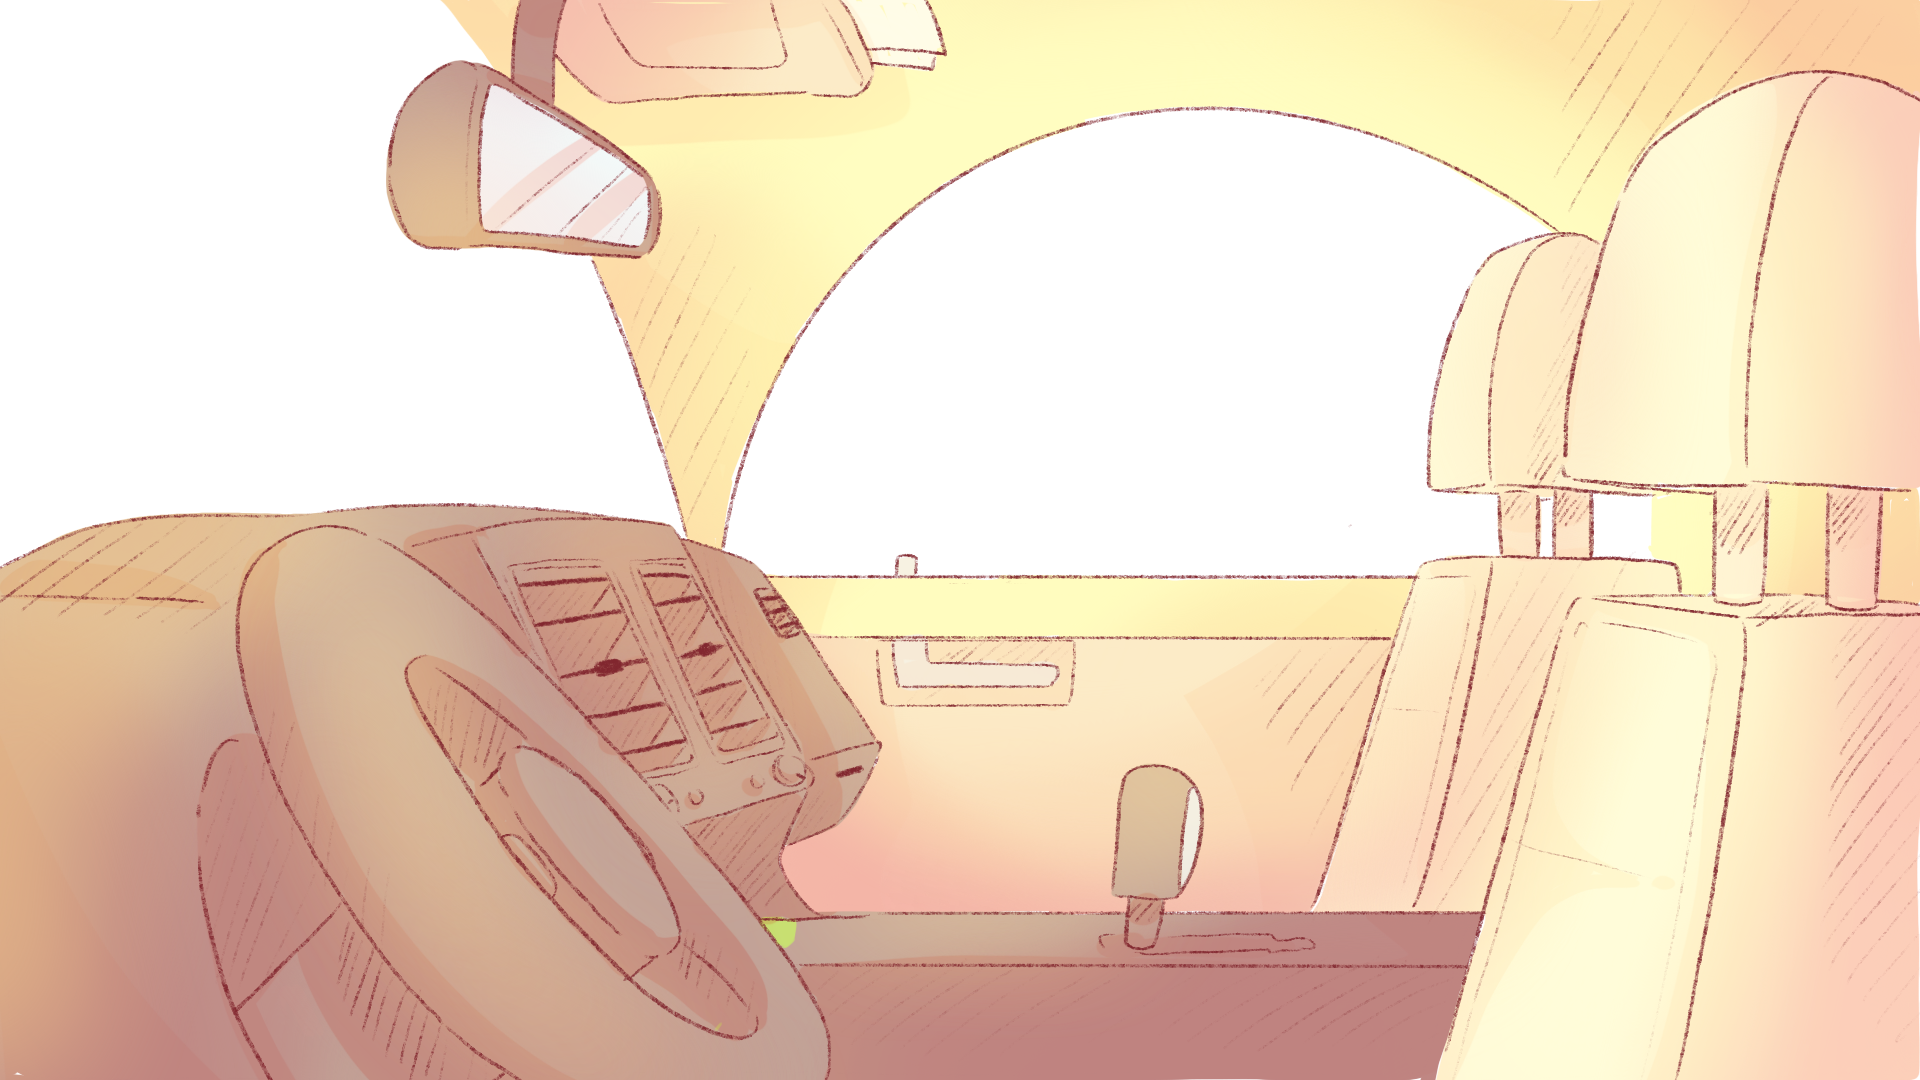
With the backgrounds and audio in place, I started to outline the characters frame by frame. I focused only on inking and animating the mouths. I wanted to animate the mouth so that it matched the audio accurately. I also paid attention to smear frames to add more fluidity to the characters' changing poses.
After drawing the outlines of the characters and making sure that the mouth was animated correctly, I moved on to coloring the characters. I added the flat colors to each frame according to the character sheet I created. In a separate layer underneath the outlines,
I colored in each frame.
I colored in each frame.
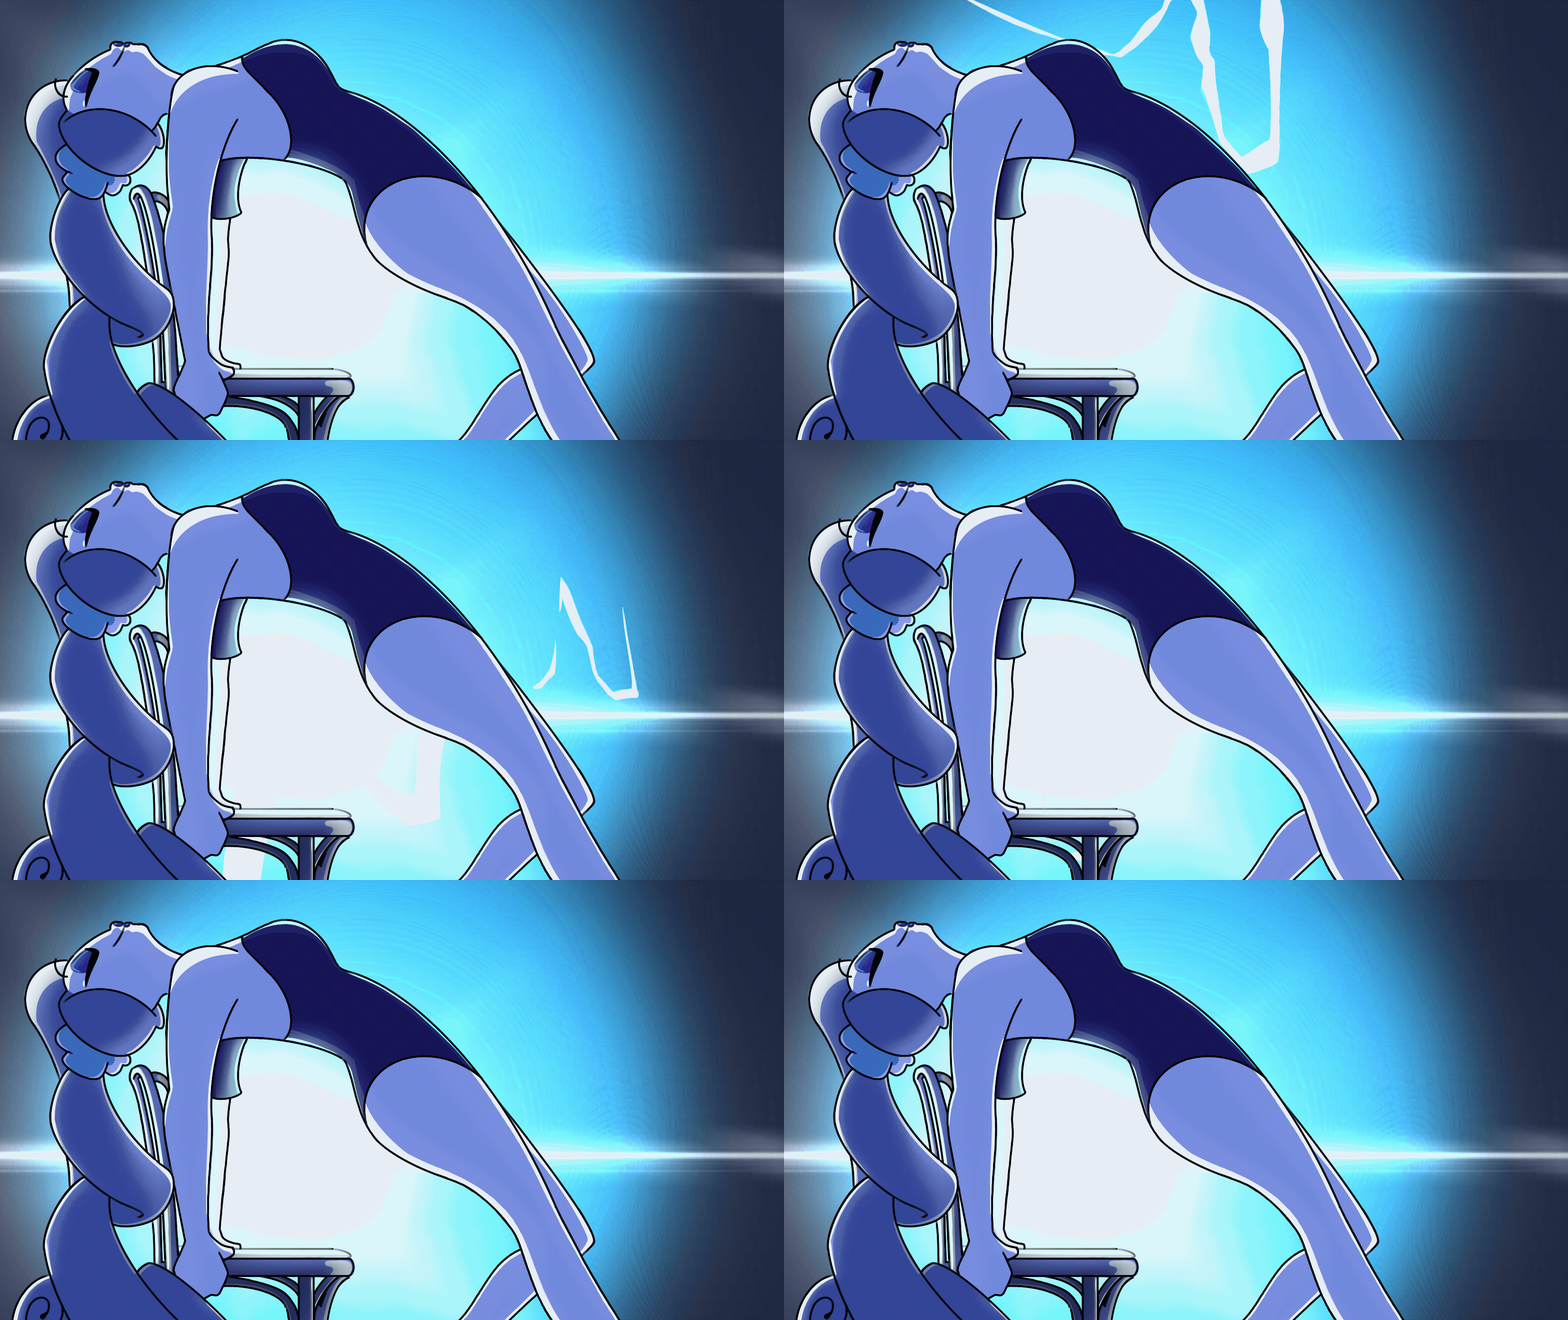
Once the flats were finished, I added highlights and shading to the characters. Adobe Animate has adjustment layers to change the effects of your colors. I used a multiply layer to add shadows to my characters, and an overlay layer to add rim lighting and highlights. This extra push of color makes the characters pop more and adds depth to the scene
Finally, I added more to the background of my animation and short, animated credits. To add more color and motion to the environment, I animated a blue sky with clouds slowly moving in the background to show that the characters were driving. I also added credit to my friends who voiced the character. A lily and a lotus keychain are seen swaying from the rearview mirror.
Final Piece
